Windows 11 Internet Connection Monitor in Taskbar
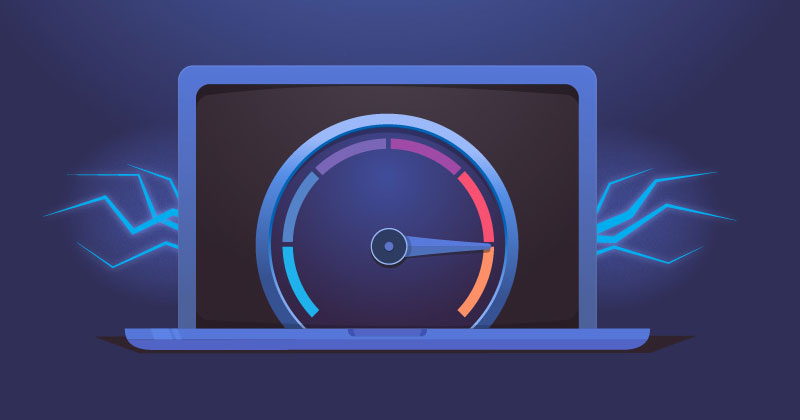
We all know how important it is to check our internet connection speed at regular intervals. Monitoring the internet connection is easy, mainly if you use Windows 11.
However, to make internet connection monitoring easier, you can add a network speed meter on your taskbar. So, is it possible to monitor the internet connection from the Windows 11 Taskbar? We will know about it in this article.
Windows 11 Internet Connection Monitor in Taskbar
It’s possible to monitor the internet connection on our Windows 11 PC from the Task Manager, but that involves using third-party apps.
You can use a third-party internet speed monitoring app to check your network speed directly on the Taskbar. You don’t need to open the Network & Internet page from the Settings.
How to Add Internet Speed Monitor in Windows 11?
We will use third-party programs to add an internet speed meter on our Windows 11 taskbar. Here’s what you need to do.
1. View Internet Connection using Taskbar Monitor
Taskbar Monitor is a free tool that shows the CPU, RAM, Disk Usage, and internet speed in Windows 11’s taskbar. Here’s how to use it.
1. Open your favorite web browser and visit this webpage.
2. Download the TaskbarMonitorInstaller.exe on your computer.
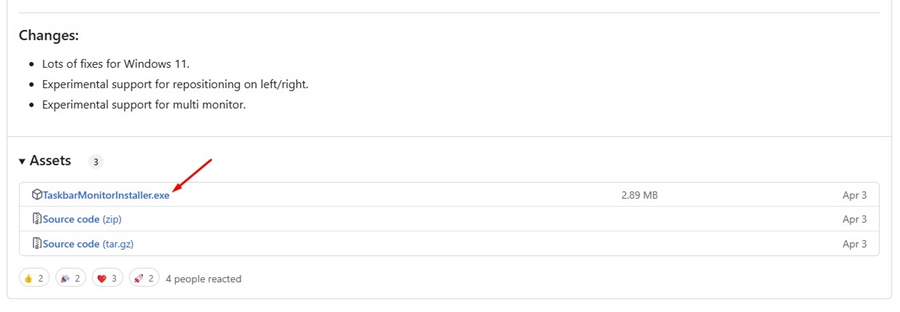
3. Once downloaded, run the installer and wait a few seconds.
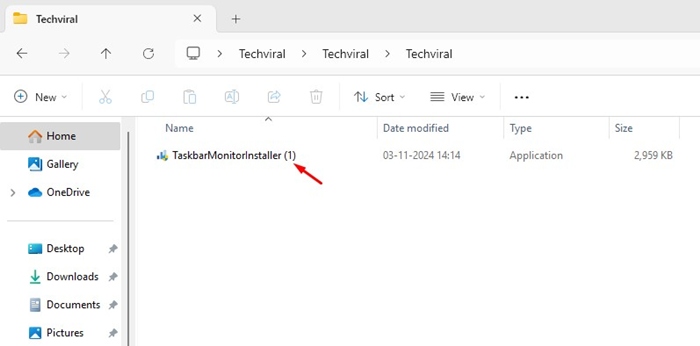

4. A command prompt window will open, confirming the installation.
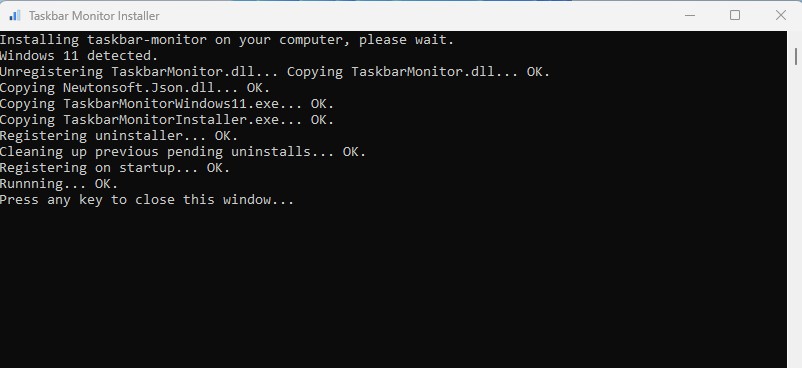

5. Once installed, you will notice the internet speed on your Windows 11 Taskbar.


2. Monitor Internet Connection using TrafficMonitor
TrafficMonitor is another great Windows tool that displays internet speed and CPU and RAM usage. Here’s how you can use the tool on your PC.
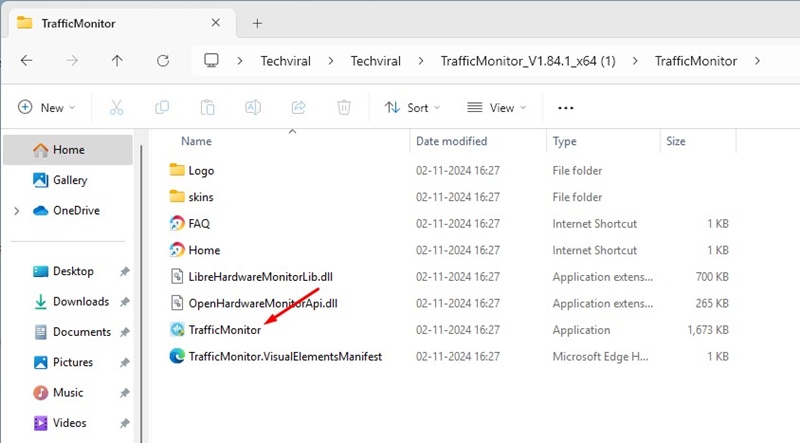

1. Download the latest version of TrafficMonitor on your PC and extract it
2. Open the Extracted folder and double click on TrafficMonitor Application file.
3. Once the program is installed, you will notice the internet speed on your Taskbar.
3. Monitor the Internet using NetBalancer
NetBalancer is a third-party internet traffic monitoring tool for Windows 11. It adds an internet speed meter to the system tray instead of the Taskbar. Here’s how to use it.
1. Download & install NetBalancer setup from this webpage.
2. Once downloaded, run the Setup file.
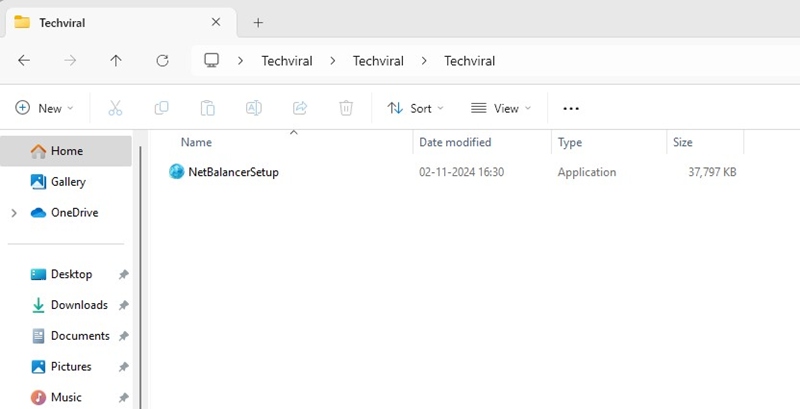

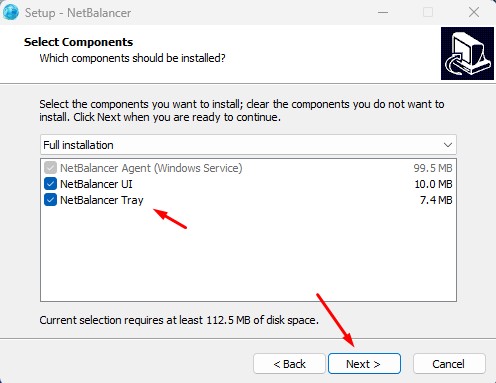
3. On the Installation wizard, make sure to check the NetBalancer System Tray and click Next.

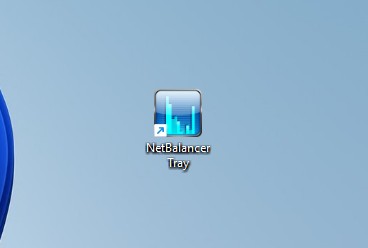
4. Once installed, double click the NetBalancer Tray icon on the desktop screen.

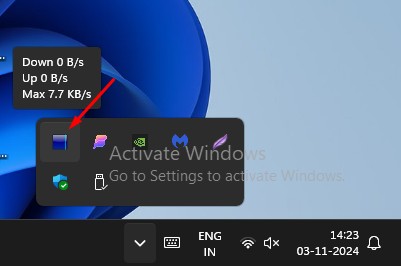
5. The NetBalancer internet monitoring tool will be added to the System tray. It will show you your internet speed in real time.

These are the three best ways to monitor an internet connection from the Windows 11 Taskbar. If you need more help with this topic, let us know in the comments. Also, if you find this guide helpful, don’t forget to share it with your friends.
